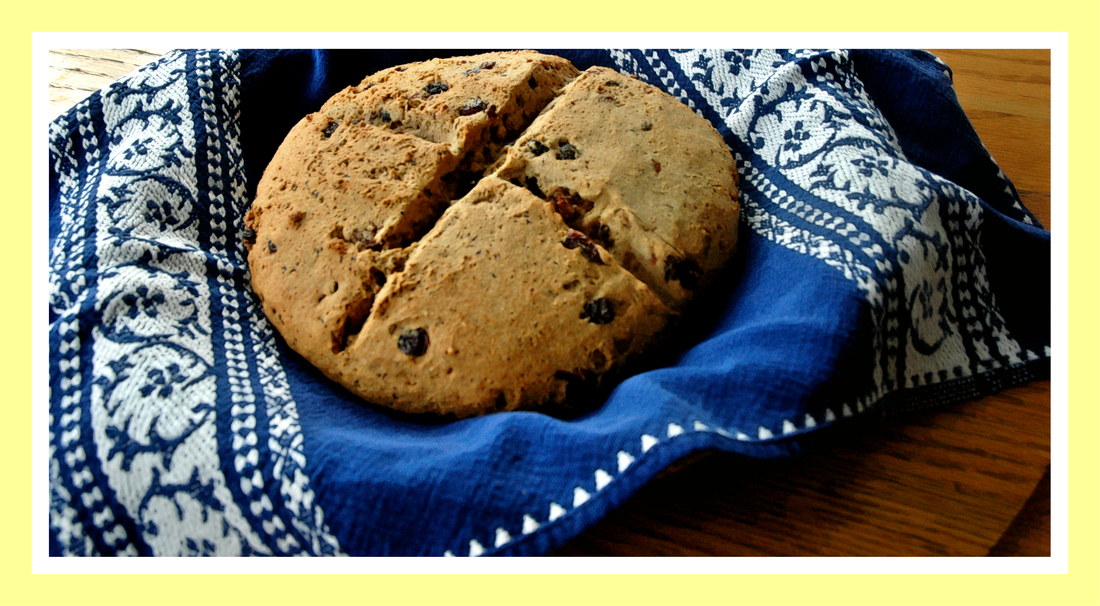
Levain Rye and Oat Bara Brith
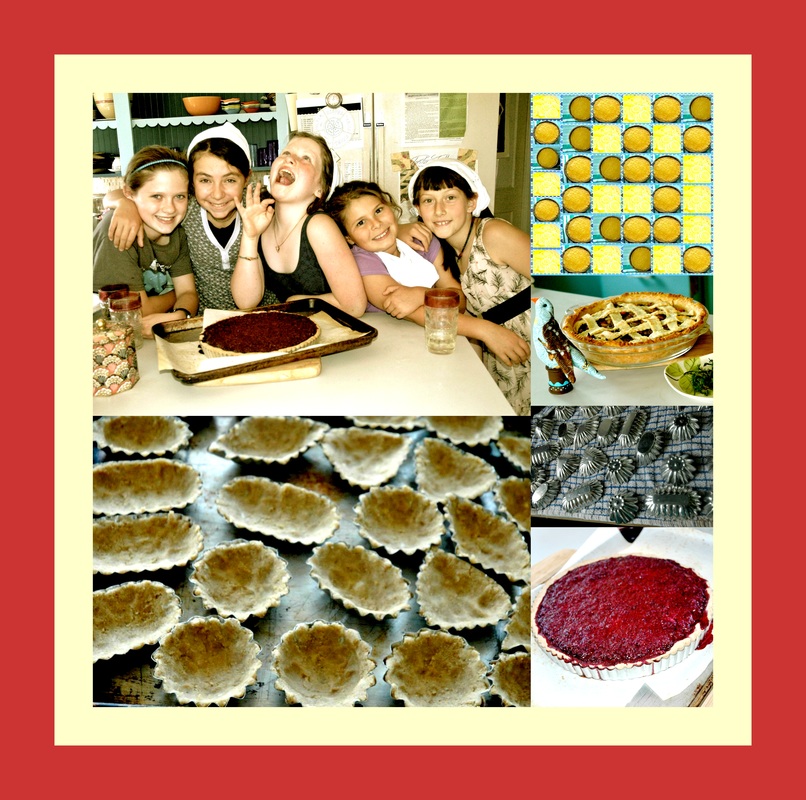
Click pies for another piece of the action
|
Categories
All
Archives
December 2017
AuthorHi I'm Sido Maroon, 
roasted beet salad

rye herb focaccia

Ethiopian Injera

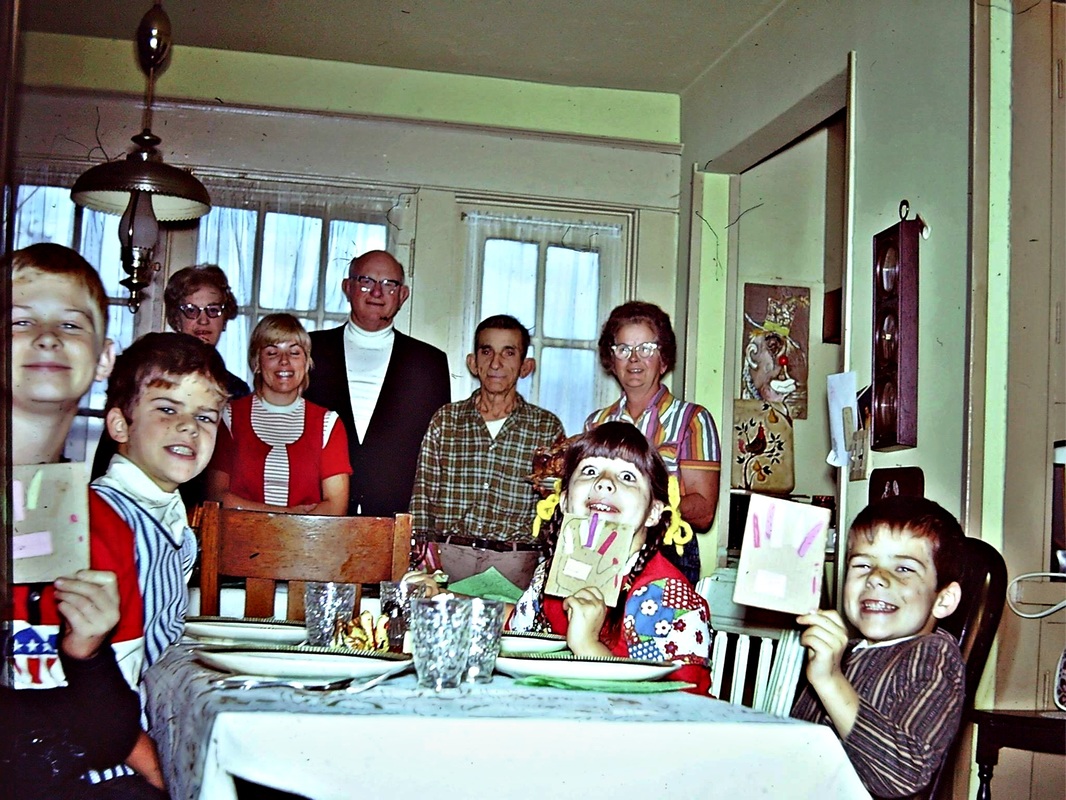
tables are important

tibicos corn tortillas

crock pot sourdough rye bread


|


 RSS Feed